Navigate Student Desktop App Quick Guide: Settings
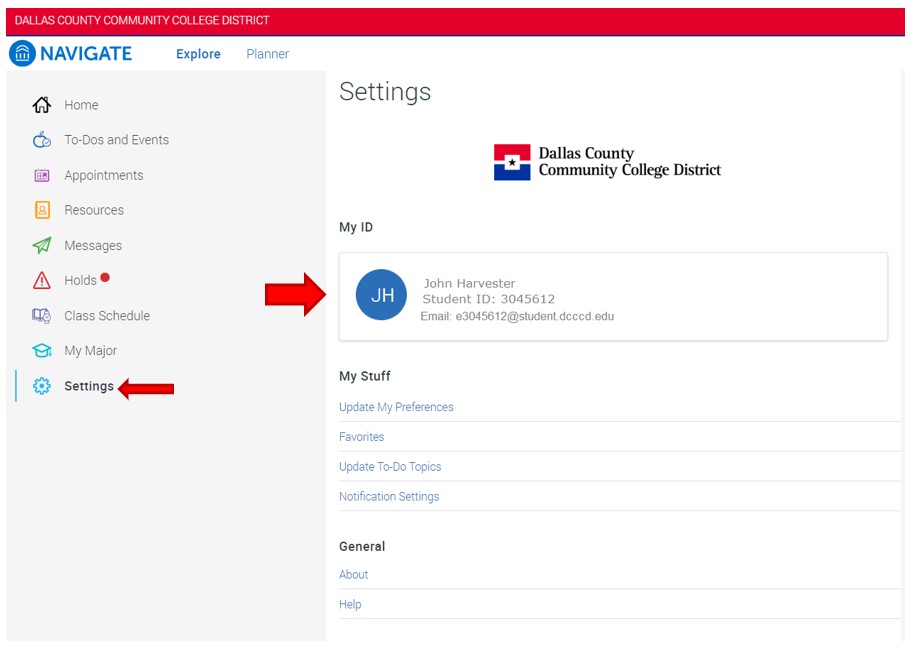
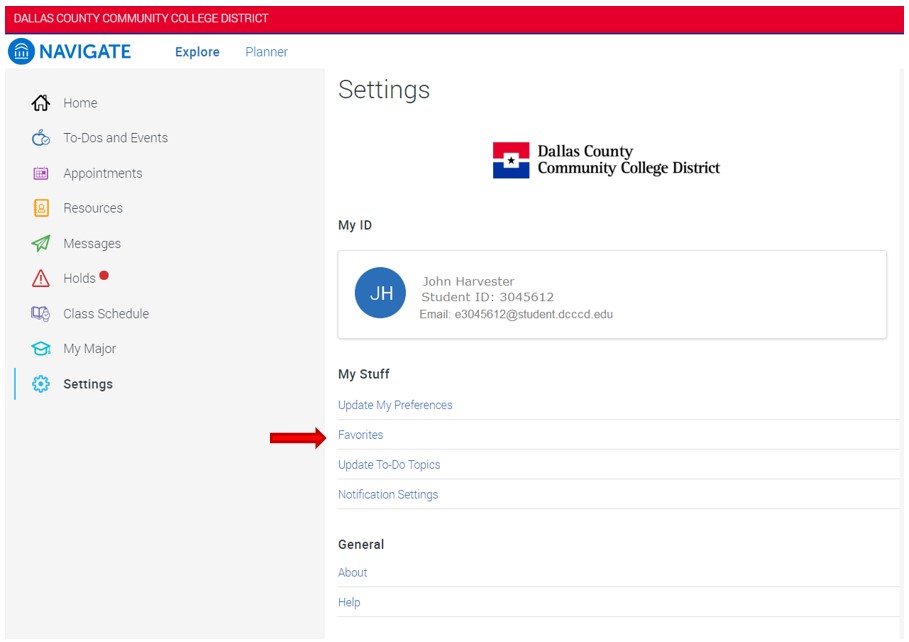
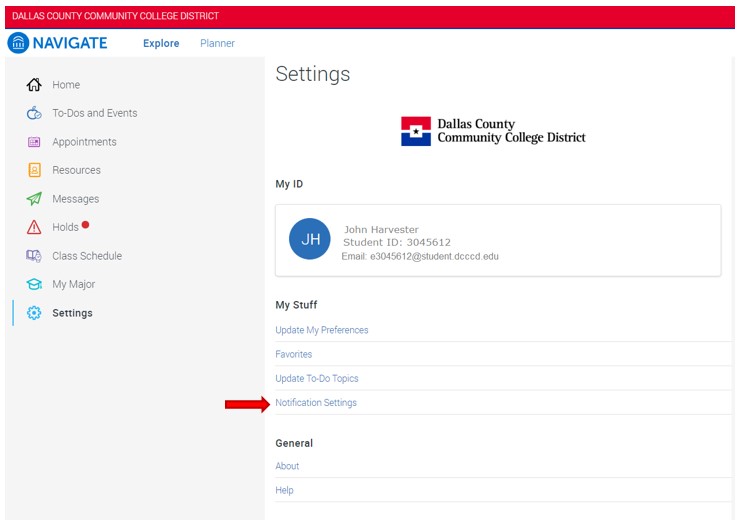
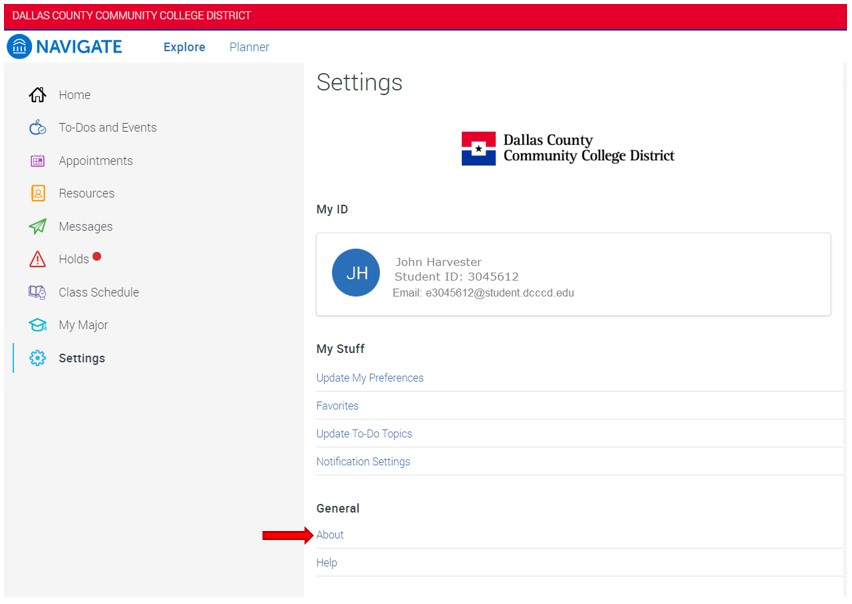
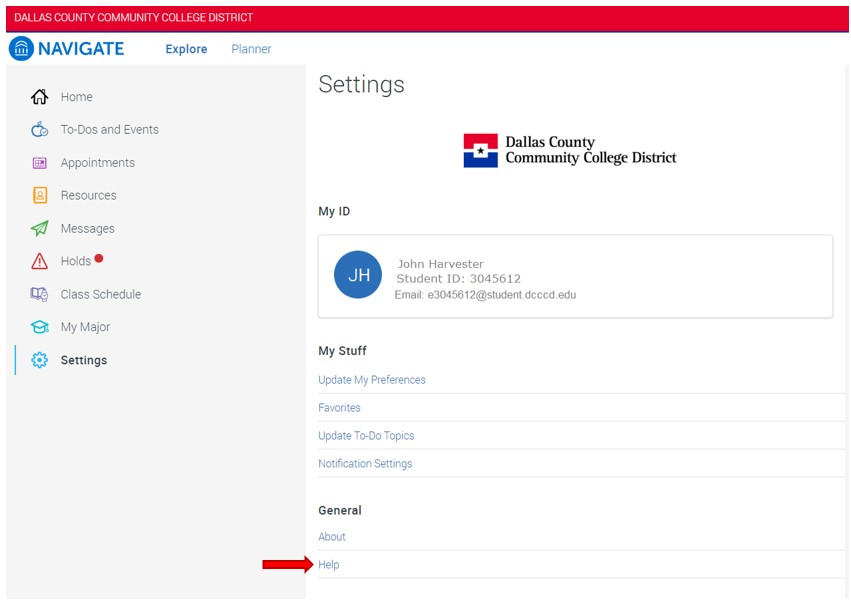
1. Select Settings. Settings provides confirmation of student name, ID number and school email account. It also contains three different sections: My Stuff, Talk to Us and General.
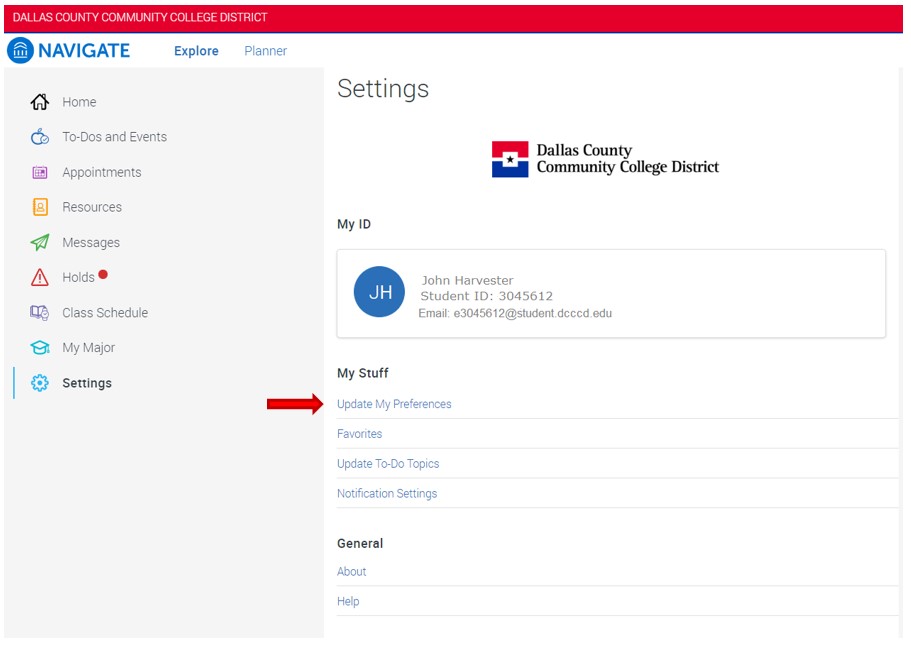
2. Under the section titled My Stuff, select Update My Preferences to retake the Intake Survey. The Intake Survey was first completed when activating the user account on the desktop app.
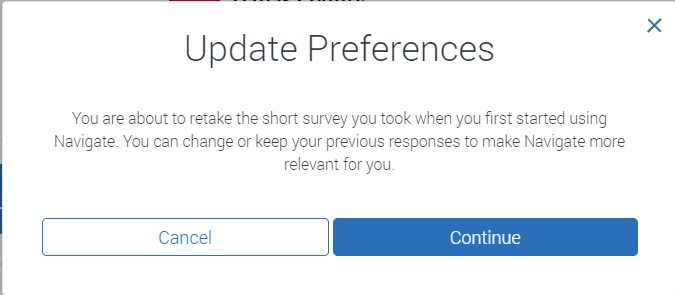
- A pop-up menu will appear to confirm that the user wants to update preferences. Select Cancel to return to the settings menu options. Select Continue to retake the Intake Survey.
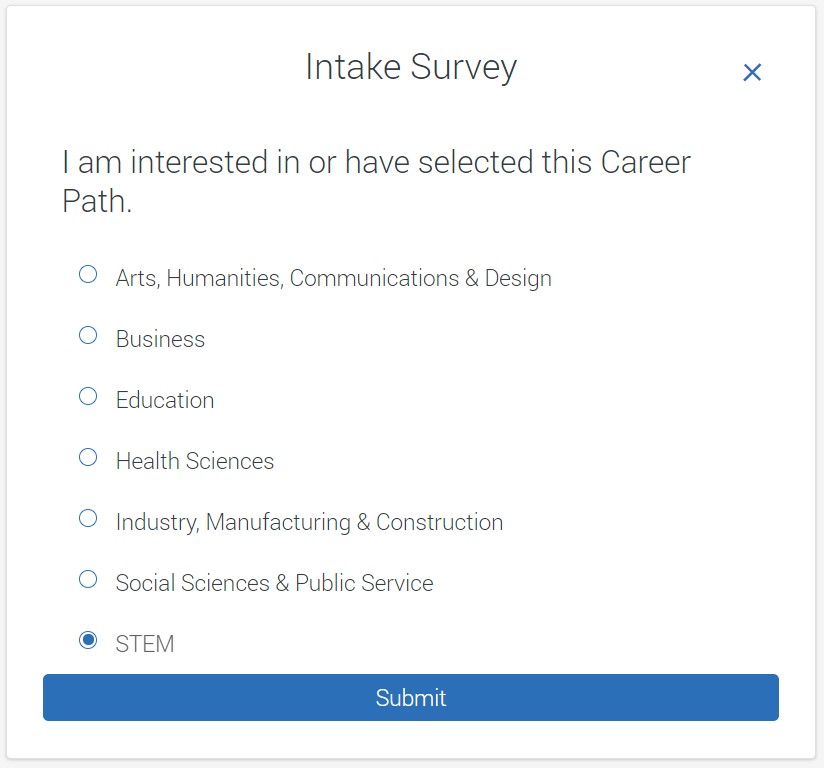
- Choose your preferred career path by clicking the circle to the left of the options: Arts, Humanities, Communications & Design; Business; Education; Health Sciences; Industry, Manufacturing & Construction; Social Sciences & Public Service; STEM. Click the button Submit to continue.
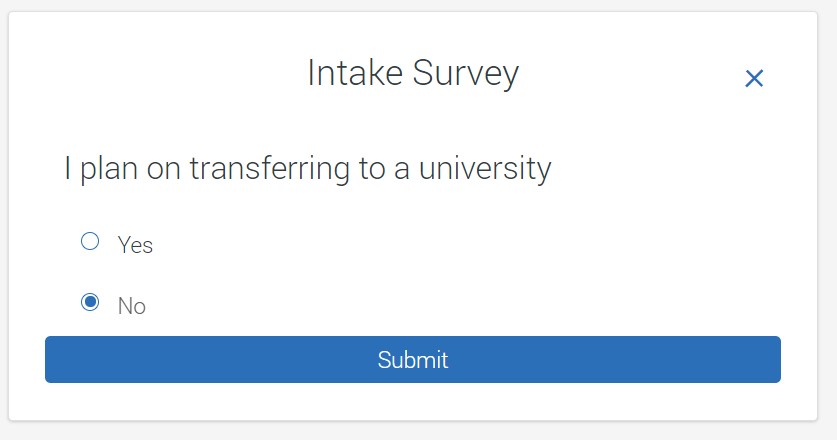
- Identify whether you will transfer to a university to earn a bachelor’s degree after graduation from Dallas College. Select the radio button to the left of the Yes or No Select Submit to continue.
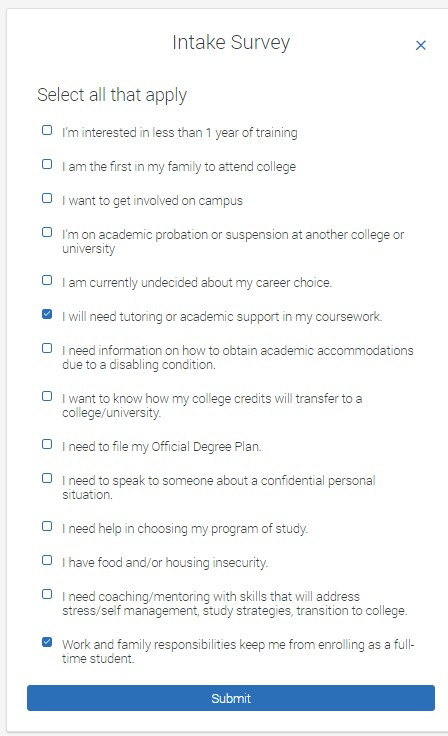
- Identify information you want to receive regarding college resources and services. Select the checkbox to the left of each item for additional information or support, then click Submit to complete the survey. Options include:
I am the first in my family to attend college; I want to get involved on campus; I’m on academic probation or suspension at another college or university; I am currently undecided about my career choice; I will need tutoring or academic support in my coursework; I need information on how to obtain academic accommodations due to a disabling condition; I want to know how my college credits will transfer to a college/university; I need to file my Official Degree Plan; I need to speak to someone about a confidential personal situation; I need help in choosing my program of study; I have food and/or housing insecurity; I need coaching/mentoring with skills that will address stress/self- management, study strategies, transition to college; Work and family responsibilities keep me from enrolling as a full-time student.
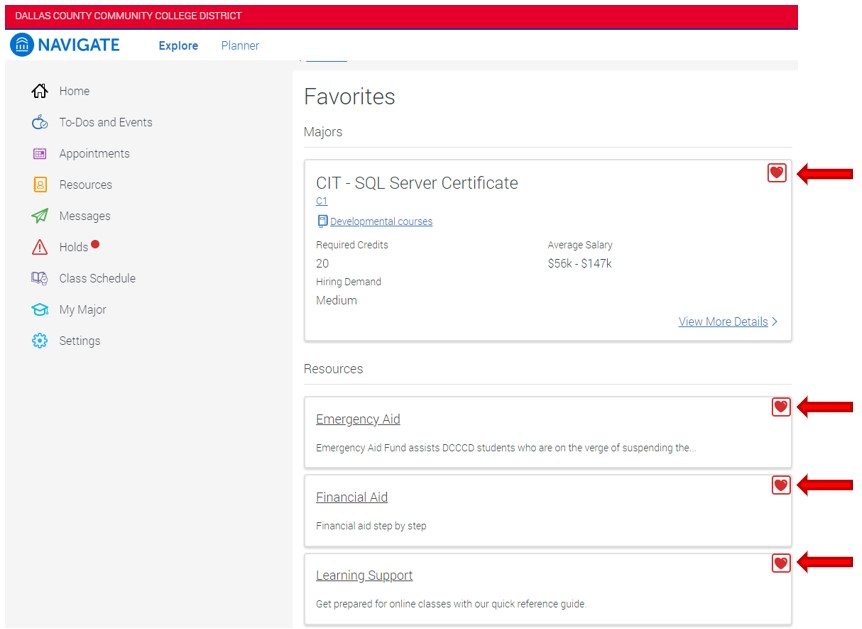
3. Favorites. Students have the option to mark Majors and Resources with a “Favorite” status.
4. This allows for quick access to all Favorites in this Settings – Favorites section of the desktop app.
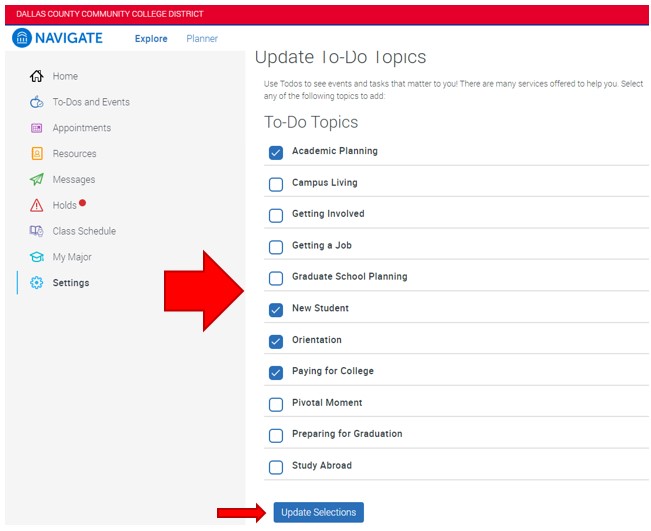
5. To Do Topics. Students may opt in or opt out for optional academic and career To-Do Topics.

6. These topics provide reminders for student services available for increased support and student success. Choose topics by clicking the checkbox to the left of the topic, then at the bottom of the screen, click Submit. Topics include:
Academic Planning; Campus Living; Getting Involved; Getting a Job; Graduate School Planning; New Student; Orientation; Paying for College; Pivotal Moment; Preparing for Graduation; Study Abroad; Transfer Students; Veteran Student.
7. Notification Settings. Students may verify their phone number and college email account on this screen. Click the Notification Settings hyperlink.
8. Under the Notification Settings – Contact Information Section, there will be an option to add a phone number for receiving text messages, if not already provided by the student. Click the link Enter Phone Number to add the phone number.

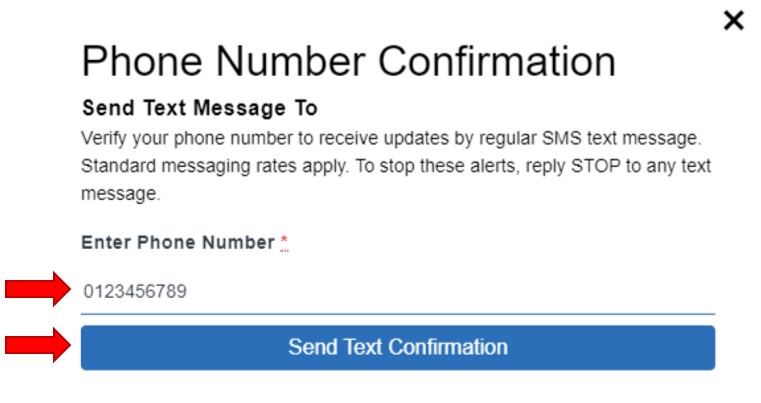
9. A pop-up menu will option to allow the addition of a phone number. Please note the phone number should only contain 10 digits (the 3 digit area code and 7 digit phone number) without hyphens or spaces. Click Send Text Confirmation.
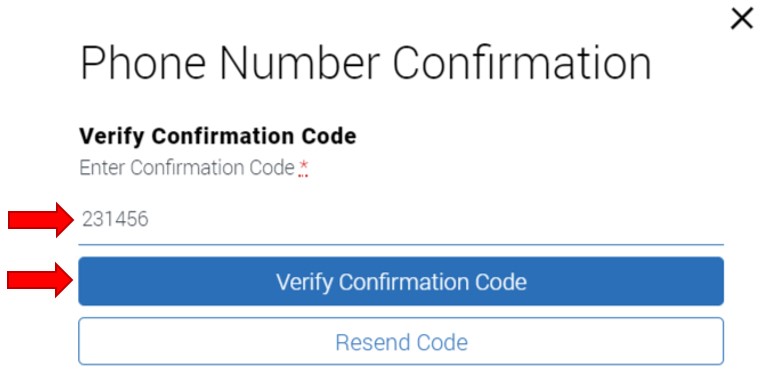
10. Enter the 6-digit Confirmation Code then click Verify Confirmation Code to finalize phone number update.
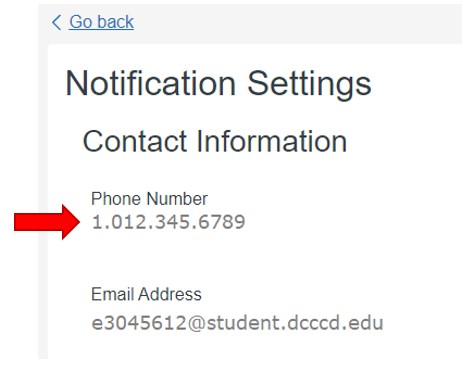
11. The updated phone number will now be viewable under Contact Information.
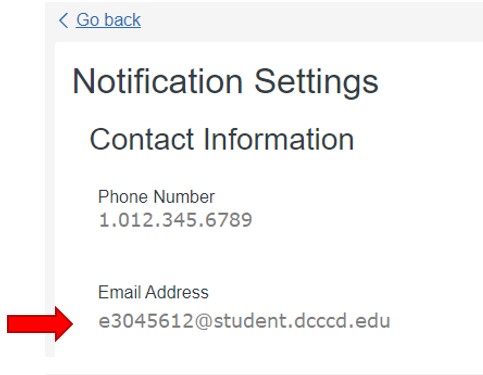
12. Notice the student official college email address is located below the student phone number.
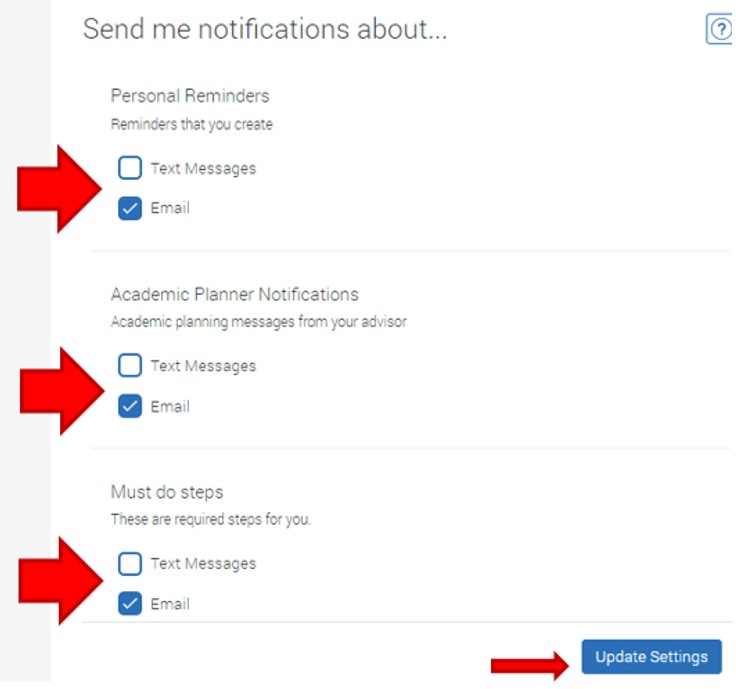
13. Under the section Send Me Notifications about… students may opt in or opt out to email and text messages by selecting the check box for each item located to the right of the type of notification. Notification Options include: Personal Reminders, Academic Planner Notifications and Must Do Steps. To save preferences, click Update Settings.
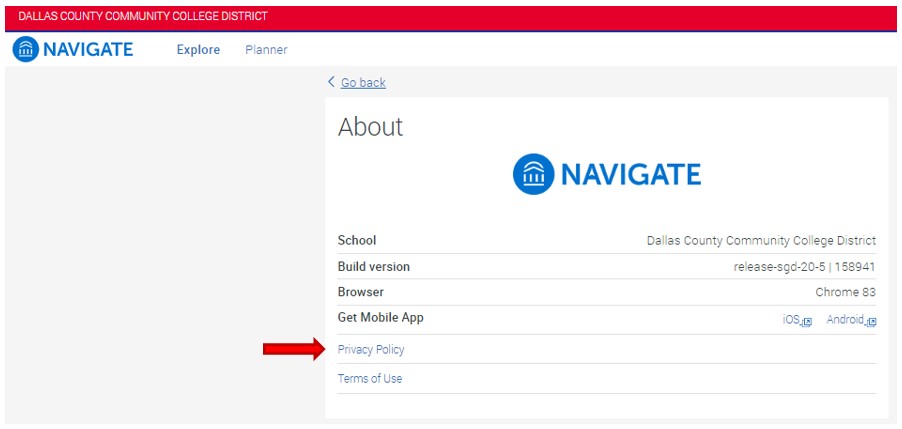
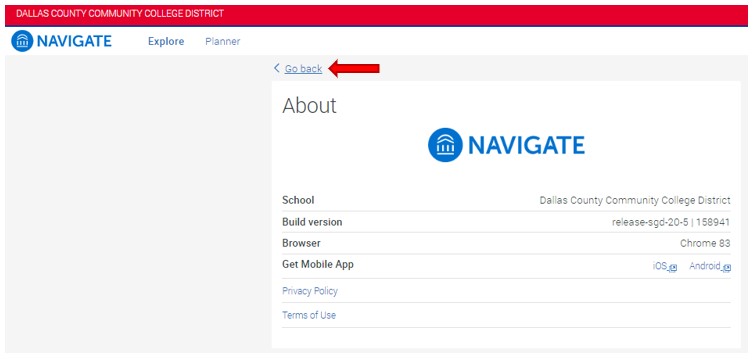
14. About. About provides additional technical and legal information about the Desktop App. Under the section General, select About.
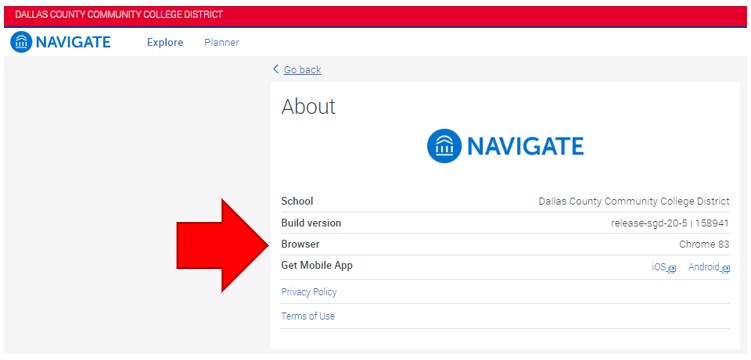
- Notice the app user’s school is verified here, along with the app build version. The Environment section contains links to technical and legal information, along with a link to log out of the app.
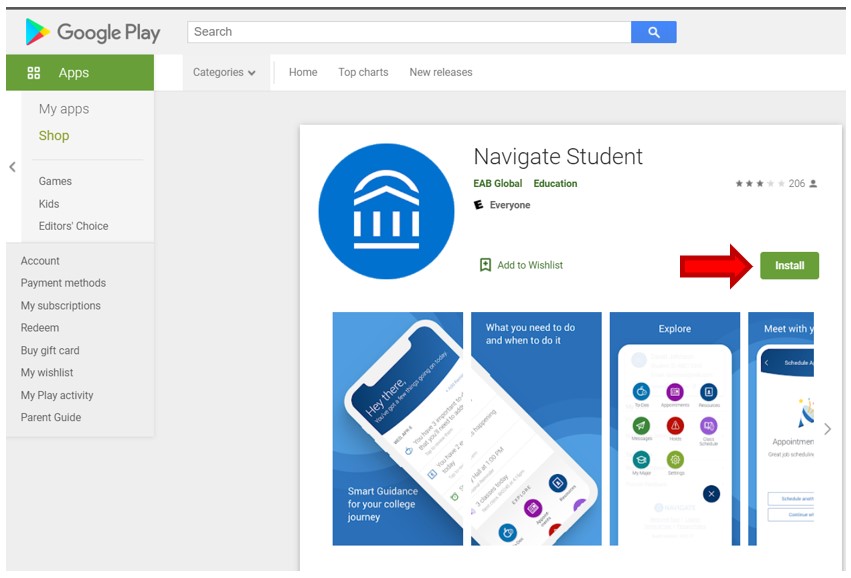
- Check for Updates. On the About screen, select Check for Updates to access the Google Play store, and verify if there are any new Student Navigate app updates.
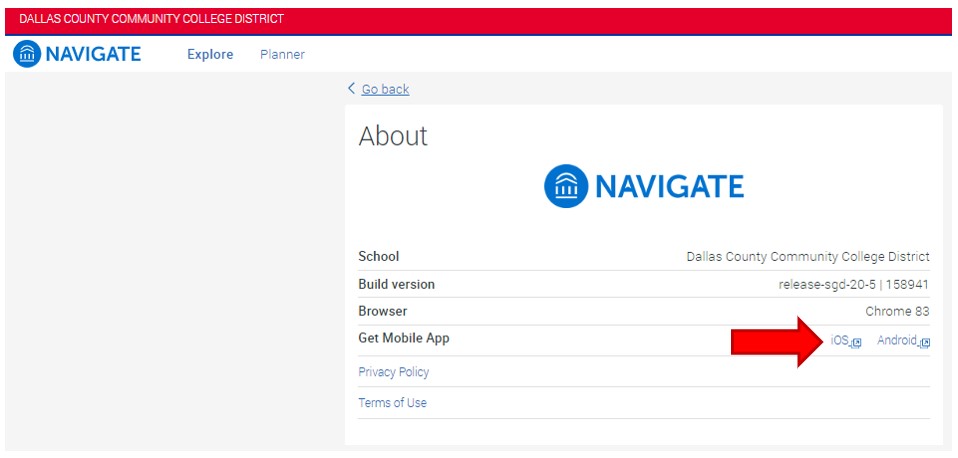
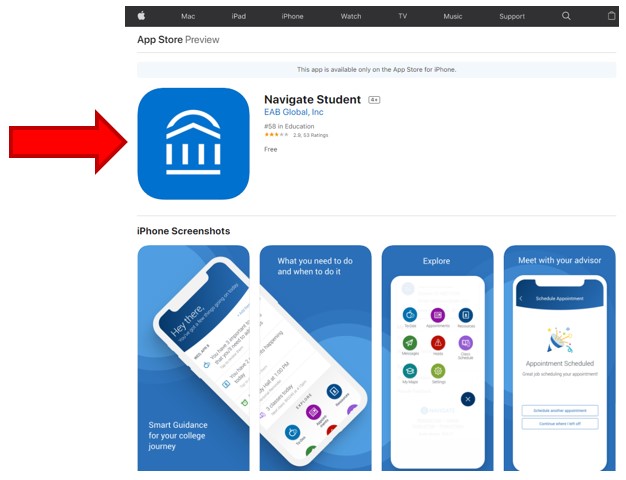
- Clicking the iOS hyperlink will open the Apple Store App download page.
- Clicking the Android hyperlink will open the Google Play App download page.
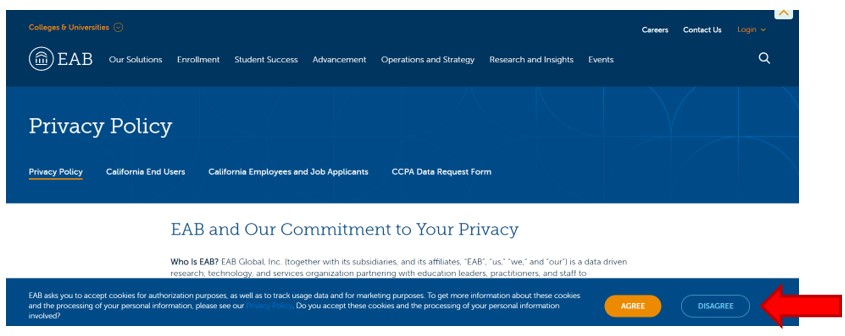
- Under the section Environment, Select Privacy Policy.
- Review the Privacy Policy (legal liability limitations, etc.) students accept by choosing to use the desktop app. There are two selection options: Agree or Disagree.
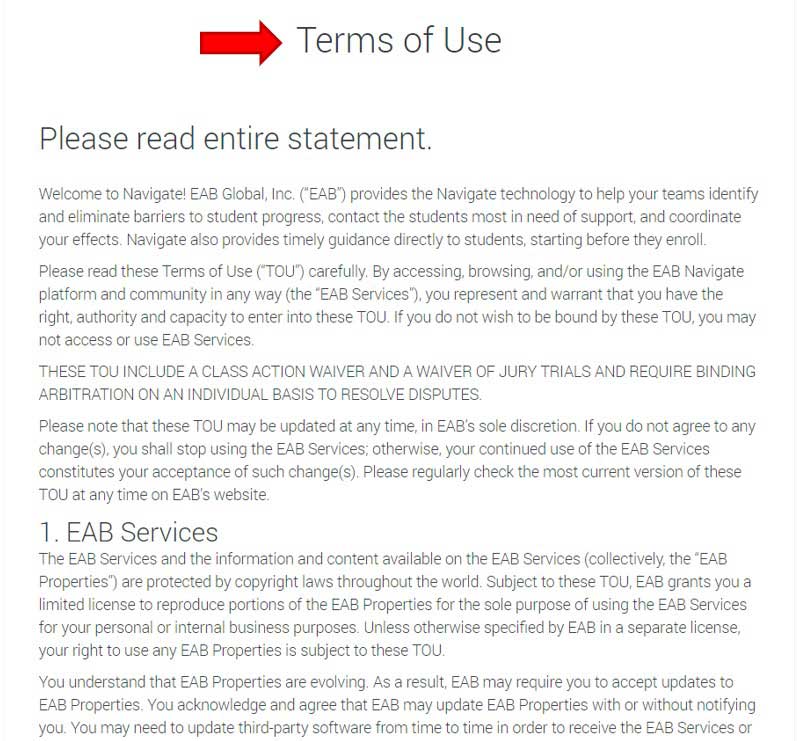
- Terms of Use. Under the Environment section, select Terms of Use.
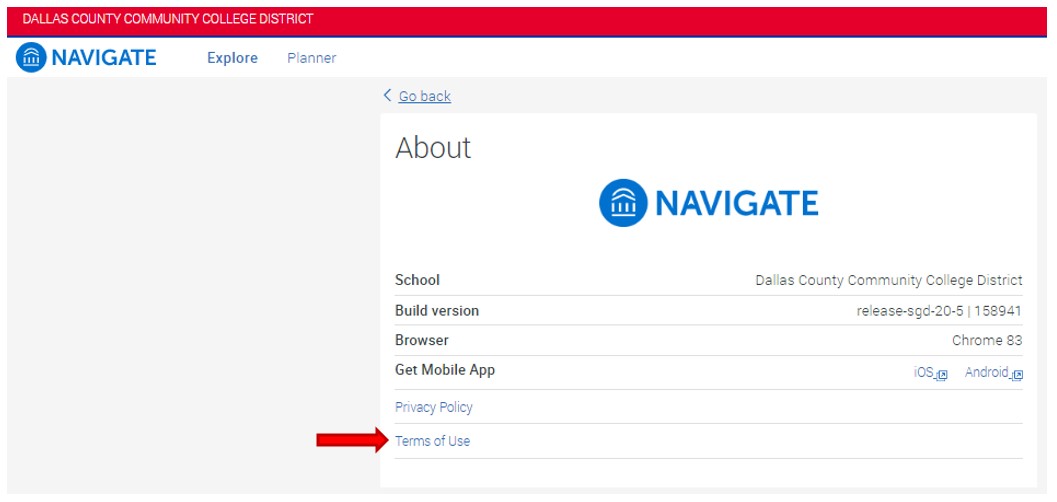
- To read the Terms of Use (legal liability limitations, etc.) students agree to by choosing to use the app.
- Click Go Back hyperlink to return to the Settings menu option.
15. Under the General Section, select the Help hyperlink to open the help menu options on the top right corner of this page.
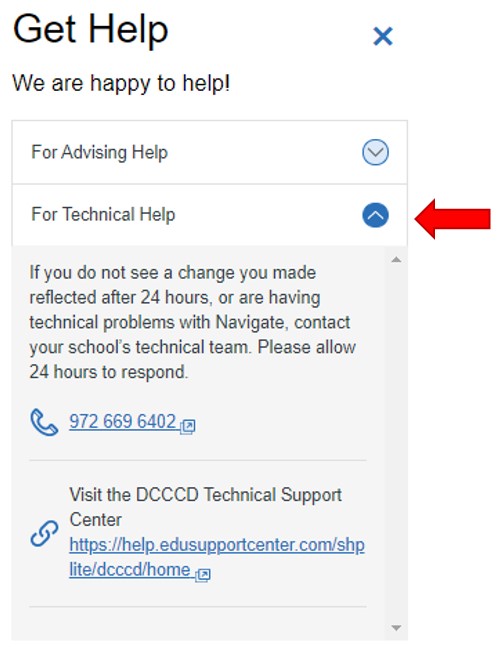
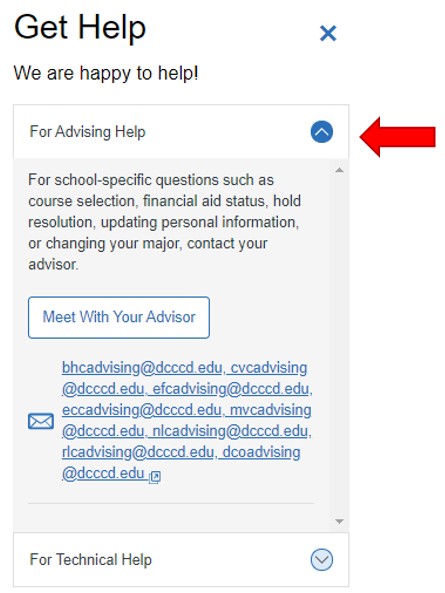
16. Help is available for Advising Support and for Technical Support.
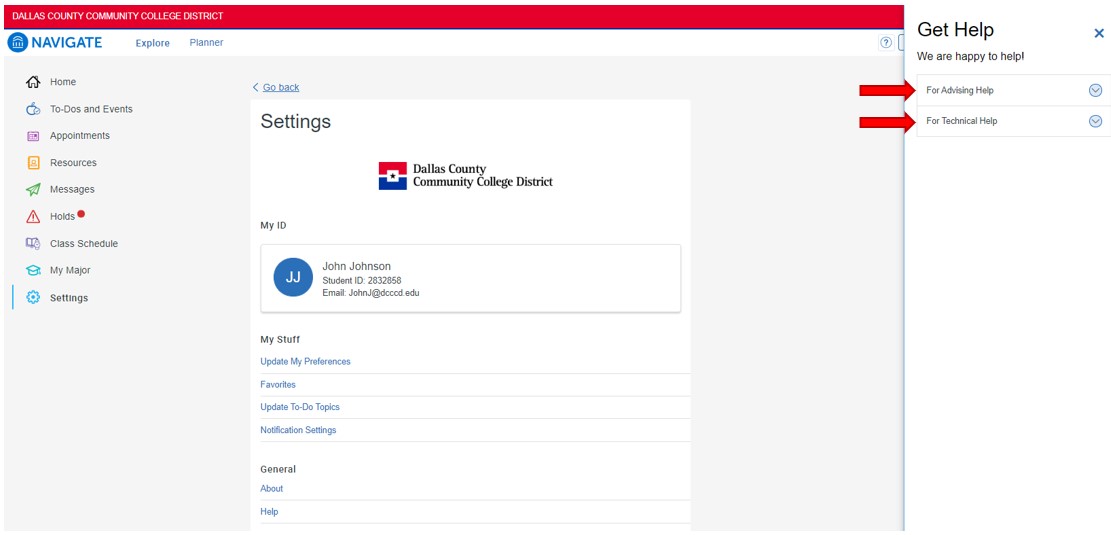
- Talk to Us -For Advising Help. Students are directed to schedule an appointment for advising support. The academic advisor is the primary support to assist students understand how to navigate college. This includes understanding policies, procedures, student responsibilities, student rights, and all the supports and resources available for student support.
- Talk to us - Technical Help. There is a 24-hour delay in the Navigate app to update any changes made to student records in eConnect (class add/drop, phone number update, email update, program of study change, etc.). As a result, students should wait 24 hours for any student record changes to update. If updates are not visible after 24 hours, students may contact Student technical Support for assistance.