Part 2: Create RapidID Password and Choose Pictograph
Now let's go back to the email we received earlier. We want to click on the "Rapid Identity Login Page," the first link under "Resources and Links."
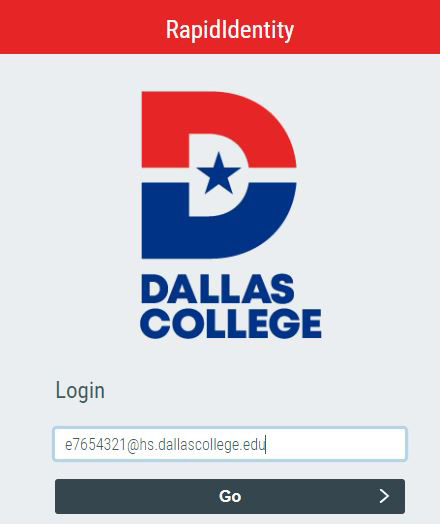
Input your login username again, your student number @hs.dallascollege.edu. Click on the go button.
Next, input the password you just created and click the go button again.
Now you will select the pictures for your authentication. You'll select three times and the pictures will reload each time.
I'll select the crown, the hamburger and the wrench. Once happy with your selections, click on the go button.
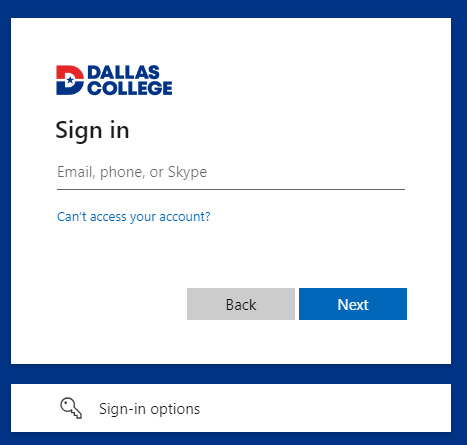
This will bring you to the Dallas College sign in page. Use your login username, student number @hs.dallascollege.edu and click next.
This will bring you to the my.dallascollege.edu site where you can find your eCampus, your email and all the resources you need. Thanks for watching.
This is Part Two of the Pictograph Authentication setup.
By completing these steps, you will:
- Select three images as your Pictograph Authentication.
- Log in to my.DallasCollege.edu to access eCampus, Virtual Desktop and more.
- Return to “Welcome to Dallas College and RapidIdentity” email and click “RapidIdentity Login Page” under Resources and Links.
- Visit the RapidIdentity menu (opens in a new tab). Input your Login Username (example: e9876543@hs.DallasCollege.edu) and select "Go."
- Input your password and select "Go."

After logging in with your Login Username and the password, you need to choose your pictograph images. Notice that the selected images are shown and should be remembered for future logins.
- Pick one image from a set of nine images three times and select “Go” to complete the pictograph setup.

- Complete the process by typing your login ID and selecting “Next” to access my.DallasCollege.edu.
You’re done!
Remember to bookmark my.DallasCollege.edu to quickly access student resources like eCampus, Virtual Desktop, your Dallas College email account and more.