Prospective Supplier
This Job Aid (JA) is designed to walk Prospective Suppliers and Purchasing Transaction Specialists through the steps to submit a request to be a supplier.
By the end of this JA, users will be able to successfully submit prospective supplier requests which would allow prospective suppliers to enter all of their own information, saving the time of Dallas College administrators.
Print Steps to Submit a Request (DOC - 1.83MB)
Step 1: Clicking on the link received lands you here. Click Sign In and the either sign in or create an account if it is your first time.
.png)
Step 2: After creating an account with a username and password, you will be sent an email asking to verify your email address. Click on the link sent and then log in with your newly created account.

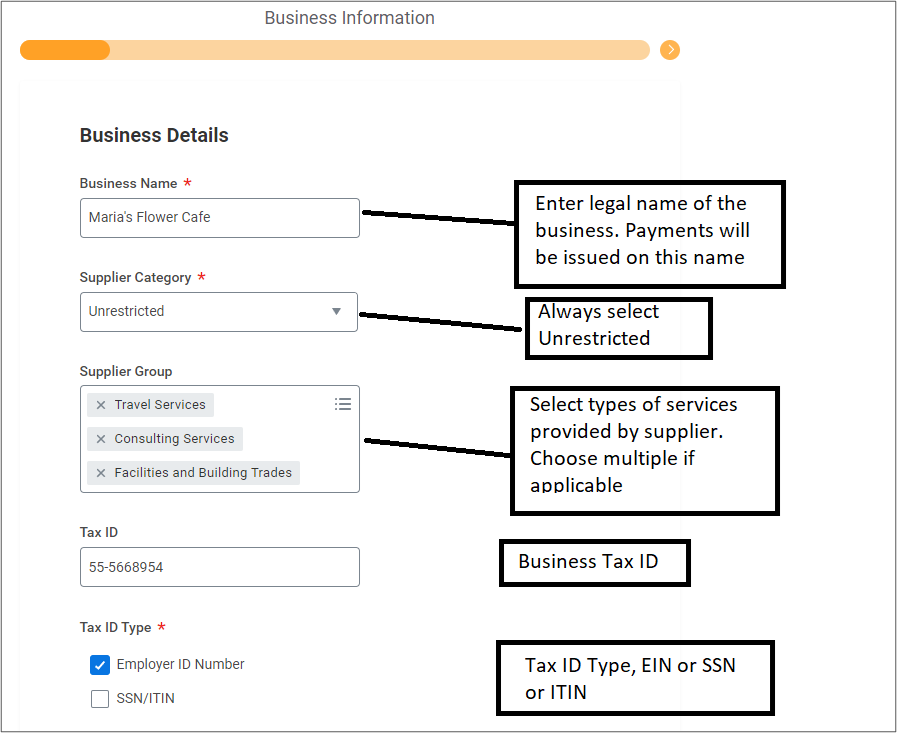
Step 3: From here the prospective supplier will begin filling in their information. Begin with filling in business details.
- Enter legal name of the business. Payments will be issued on this name
- Always select Unrestricted
- Select types of services provided by supplier. Choose multiple if applicable
- Business Tax ID
- Tax ID Type: EIN, SSN or ITIN
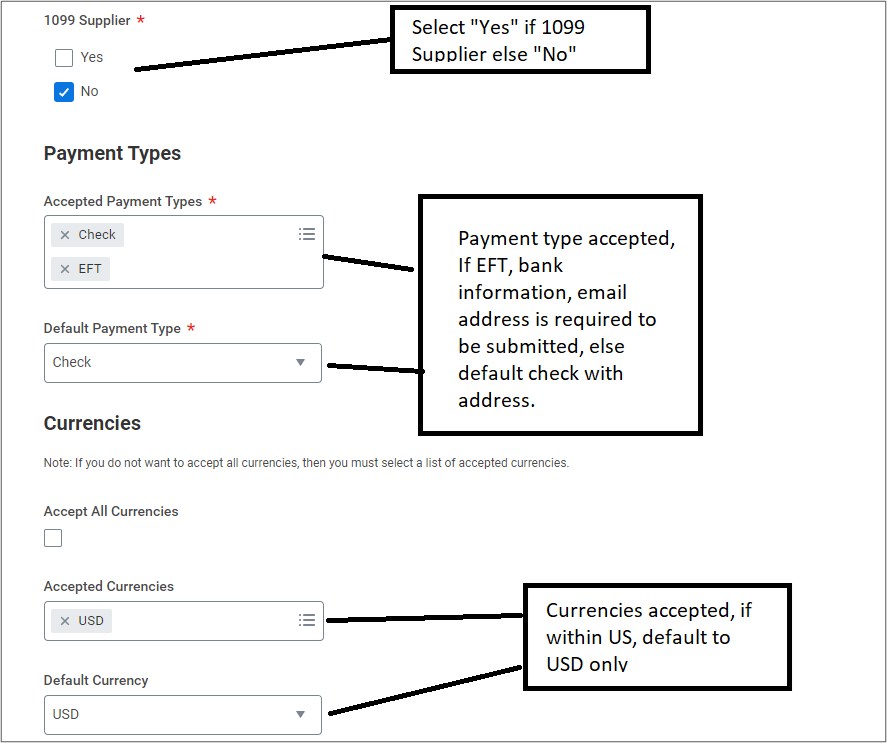
Step 4: Next, fill in payment types and currencies information
- Select "Yes" if 1099 Supplier else "No"
- Payment type accepted, if EFT, bank information, email address is required to be submitted, else default check with address
- Currencies accepted, if within US, default to USD only
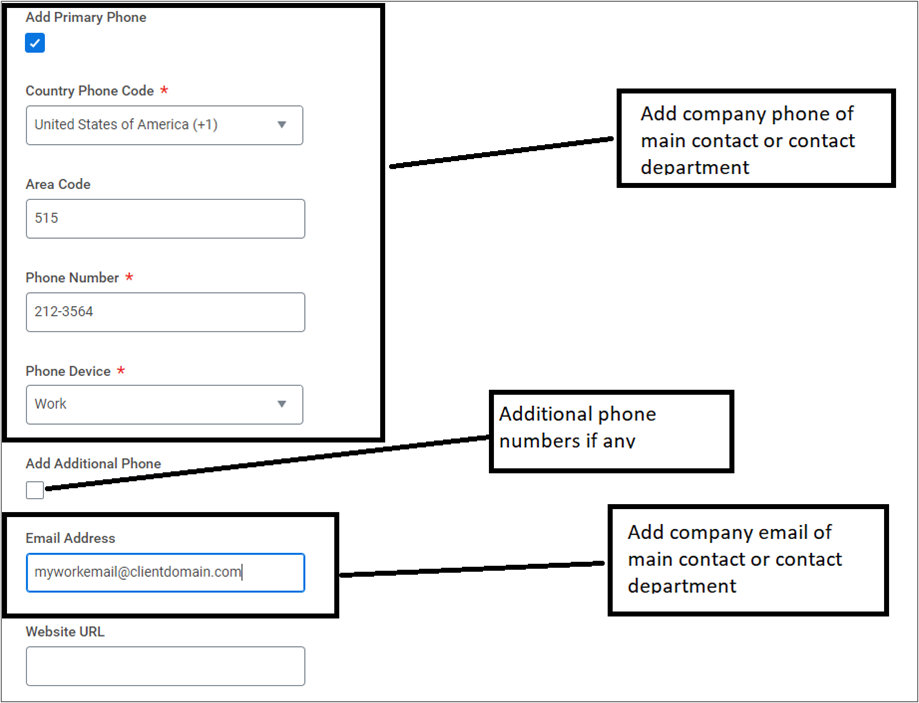
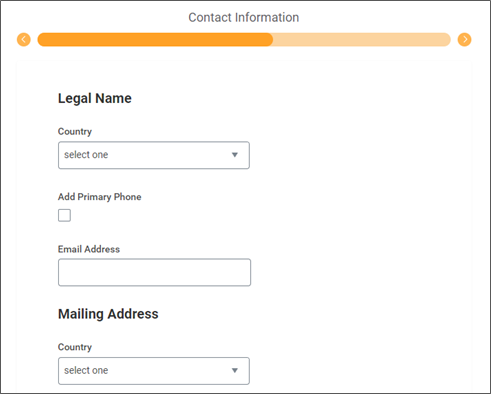
Step 5: Next, fill in contact information
- Add company phone of main contact or contact department
- Additional phone numbers if any
- Add company email of main contact department
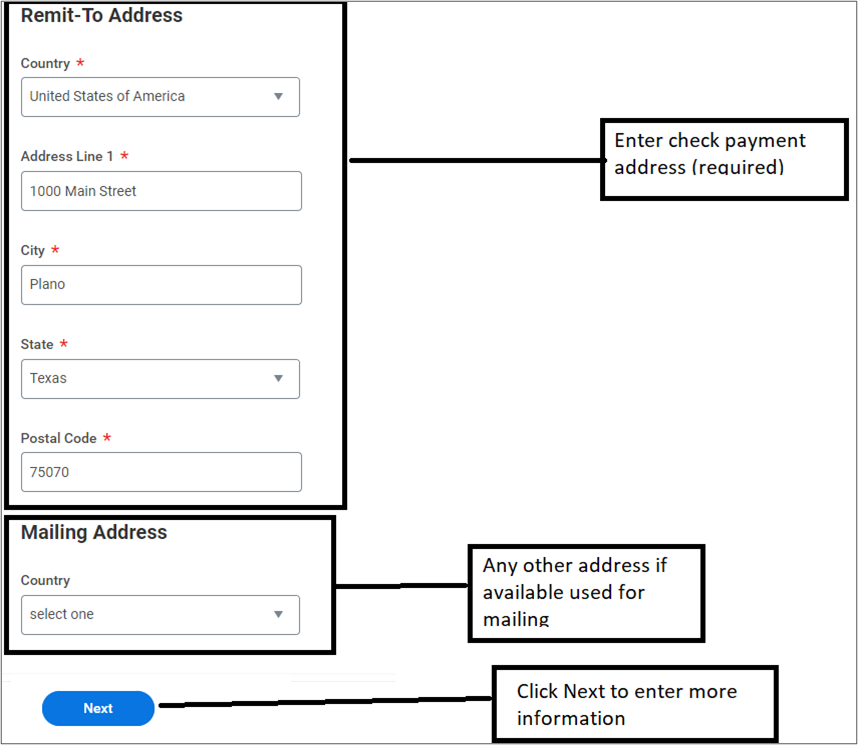
Step 6: Next, fill in address information.
- Enter check payment address (required)
- Any other address if available used for mailing
- Click next to enter more information
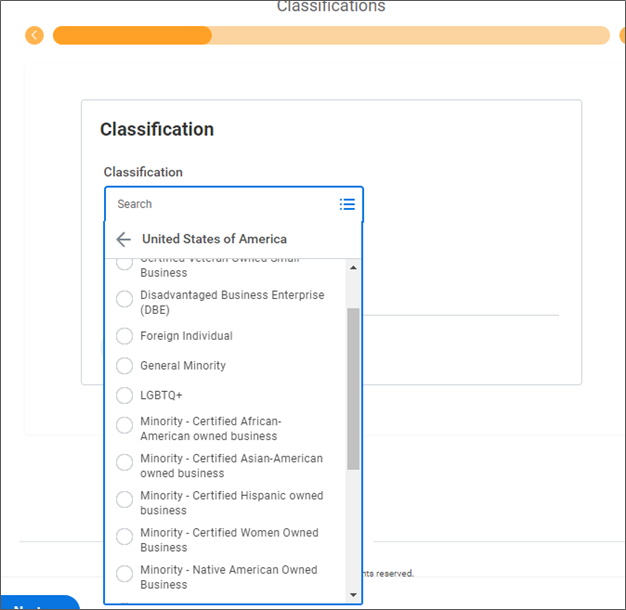
Step 7: Next, add classifications if any. Select appropriate classification and enter information, if none, click remove button. Multiple classifications can be selected by clicking “add”.
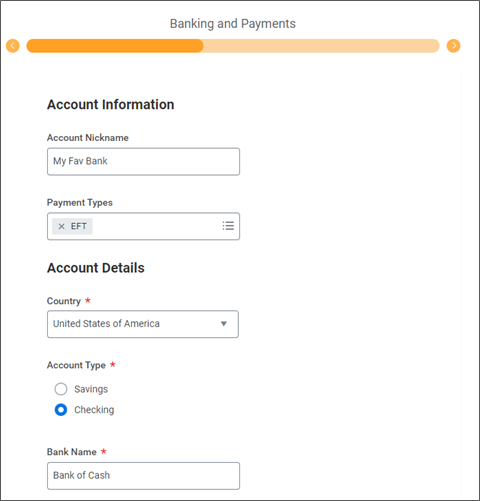
Step 8: Next, enter banking information if ACH/EFT/Wire payment is selected. If “Check” is selected, leave blank and click “Next”.
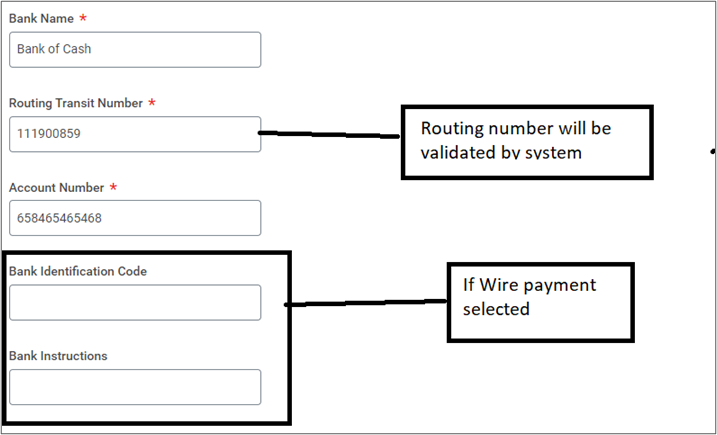
For "check"
- Routing number will be validated by system
- Enter Bank Identification Code if wire payment selected
Step 9: Next, enter any contact person information to refer any queries with the account, blank information could delay approval of supplier. Mailing address is not required.
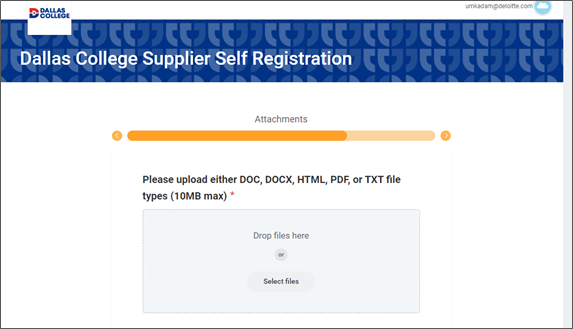
Step 10: Next, attach W-9 or any other tax and legal documents
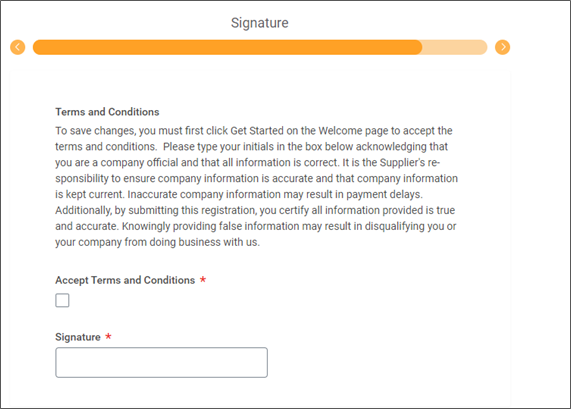
Step 11: Next, accept the terms and conditions and sign the request.
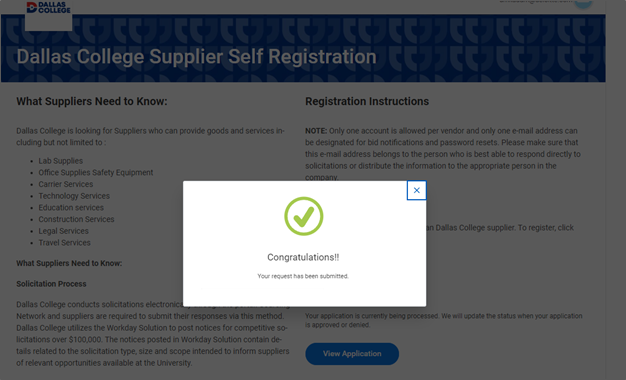
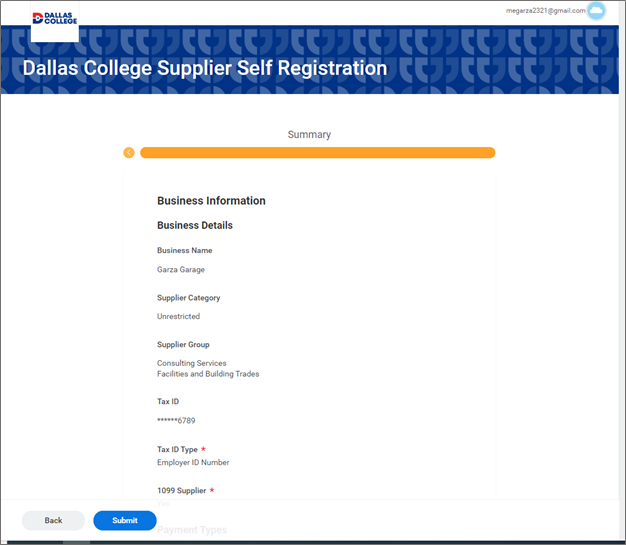
Step 12: Review all the entered information and click “Submit” at the bottom of the page to submit the supplier request.
Step 13: You have successfully completed this task. It will now be up to the administrators to review and approve the request.