Navigate Student Mobile App Quick Guide: ToDos and Events
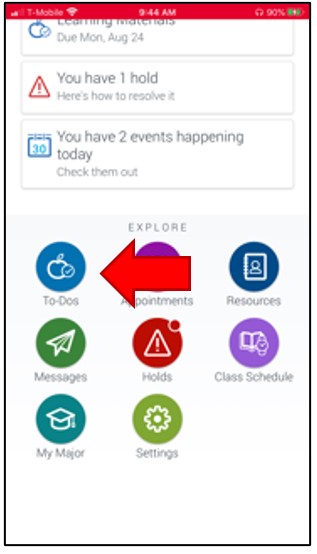
1. Students may review important reminders and even create personal reminders on the To- Dos and Events List. Notice To-Dos under the Explore menu list. Notice in this example (second screenshot below), there is nothing to do today. Also notice (in the third screenshot below), there is an option to filter item in this list. The seven filter options include:
- All To-Dos and Events
- Today’s To-Dos
- Today’s Events
- Completed
- Overdue
- Hidden
- Personal Reminders

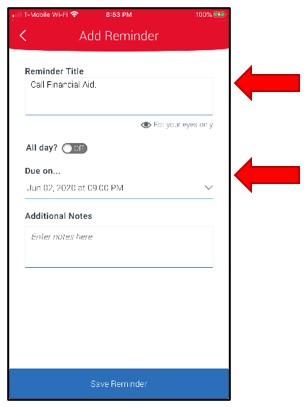
2. Add Reminder. Students have the option to add a personal reminder on the To-Dos and Events list. Near the top right corner, below the Filter item, select +Add Reminder to add a Personal Reminder. From top to bottom, the parts of the Reminder include:
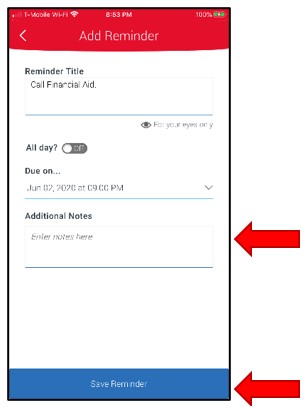
- Reminder Title. Type a brief title for the reminder (second screenshot below). Select the drop-down menu to choose the date and time for this reminder.
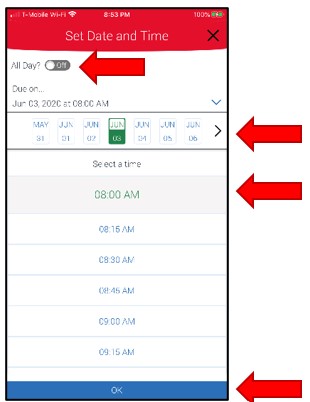
- Date Time. A new screen shows the options for selecting the appointment date and time (third screenshot below). Notice there is an option to set the appointment reminder for all day. The next row containing dates for the current week has an option at the end of the row to progress advance forward one week. Below the row containing dates is the list of available appointment start times. Once the date and time are selected, choose OK at the bottom of this screen.
- Additional Notes. This text box (fourth screenshot below) allows for more a detailed description for this reminder.
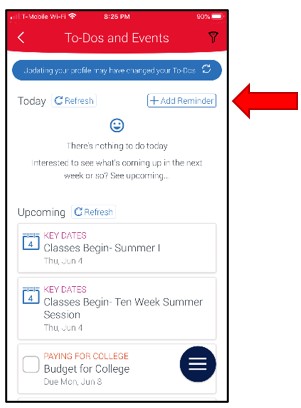
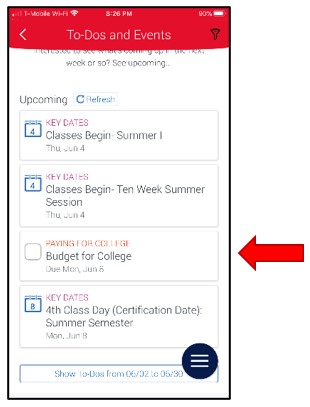
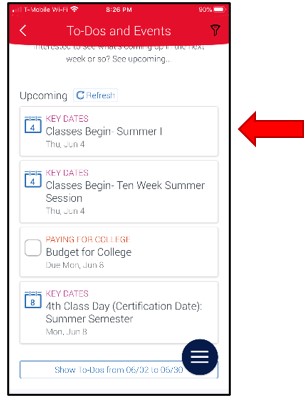
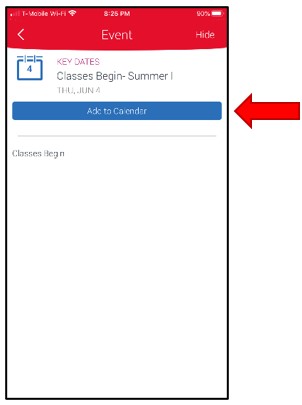
3. Review Events. Events are Key Dates (important dates) during the academic year for students to know about and understand. Notice the example below (first screenshot below) highlights the first class day of Summer 1 as Thursday, June 4. Select this item to review an explanation of the event (second screenshot below), along with the Add to Calendar button to add this event to the calendar previously designated by the user for reminders.
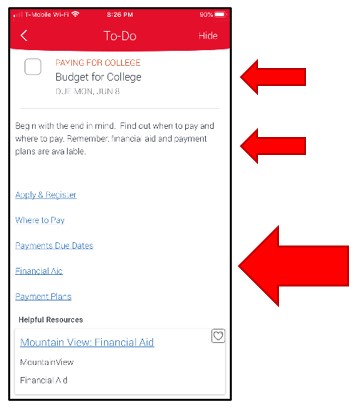
4. Review and Complete To-Do items. To-Do Items are specific tasks for topics that support college student success. These tasks range from Paying for College to Getting Involved and Preparing for Graduation (refer to the Settings section of this user guide for information on how to add or remove To-Do Items). In the example below select the To- Do Item Paying For College, Budget for College to access the detailed description and steps for this task.
- On the detail screen, notice at the top of the page there is an option to select the checkbox to complete this task. Also, below the checkbox are the descriptions and links to additional information and resources to support completion of this task.
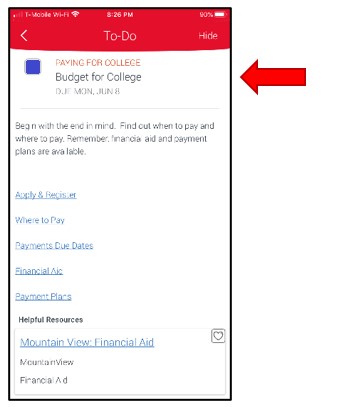
- Once complete, select the checkbox to complete this task and remove it from the To-Dos and Events List (screenshot three below).